
Getting started
Zaptime offers three ways to put a booking calendar on your site. Pick the one that matches your stack:
| Integration | Best for | Package |
|---|---|---|
| Script tag | Any website, CMS, landing page. Inline calendar, floating button, or popup. | https://iframe.zaptime.app/zaptime.js |
| Vue 3 component | Vue 3 and Nuxt apps that want the ready-made calendar with theming and events. | @zaptime/vue3 |
| Headless composables | Fully custom calendar UI built on your own design system. | @zaptime/core |
All three need an Integration Token.
Create an Integration Token
Head to the Zaptime app, create a new Event Type and copy its integration token.
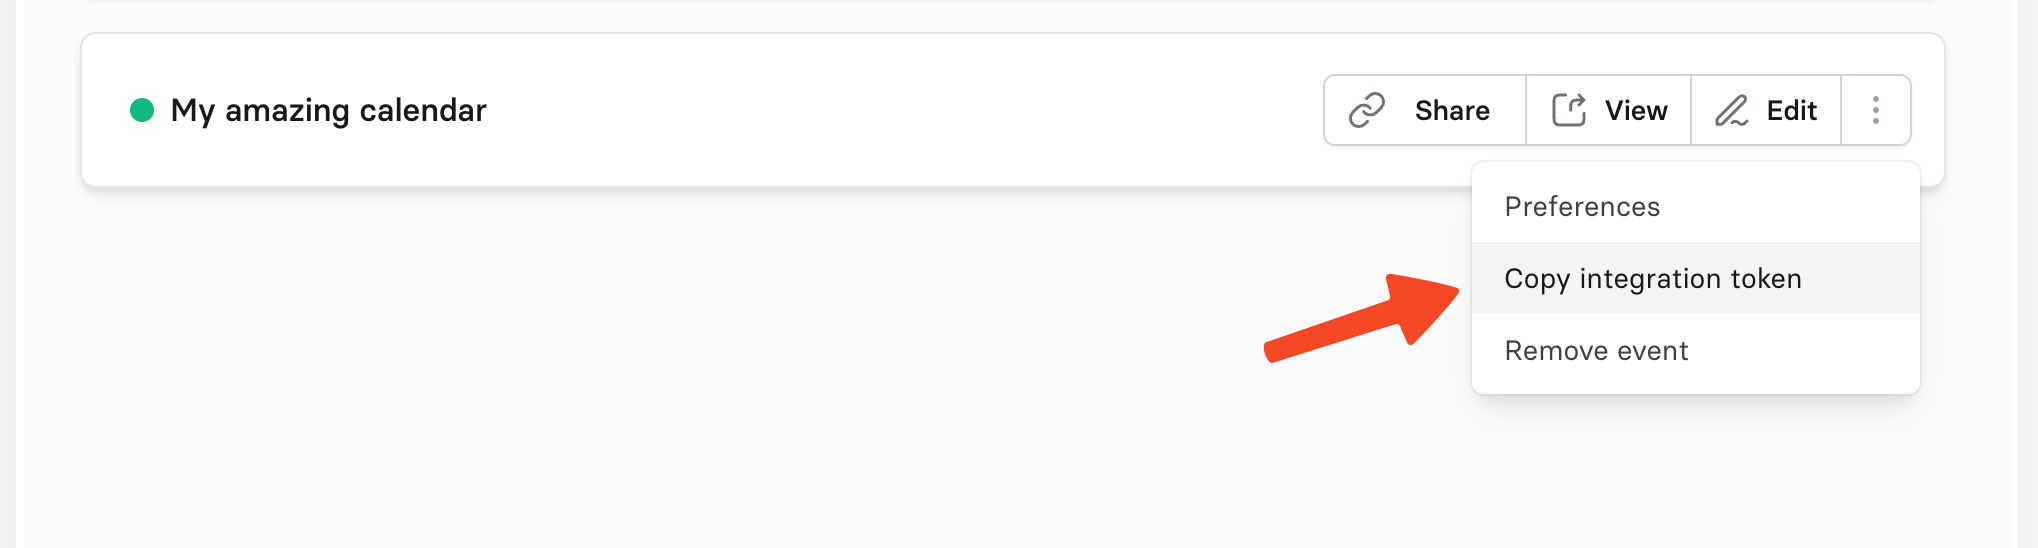
Replace <YOUR_API_TOKEN> in the examples below with the copied value.
Script tag
Paste the snippet inside the <body> of your HTML page:
<body>
  <div id="zaptime-container"></div>

  <script src="https://iframe.zaptime.app/zaptime.js"></script>
  <script>
    Zaptime({ config: { token: "<YOUR_API_TOKEN>" } }).render("#zaptime-container");
  </script>
</body>
That renders the calendar inline. The same script also provides a floating button, an inline button, and a popup mode. See Embedding modes.
Vue 3 / Nuxt
npm install @zaptime/vue3<script setup lang="ts">
import { ZaptimeCalendar } from "@zaptime/vue3";
import "@zaptime/vue3/dist/style.css";
</script>
<template>
<ZaptimeCalendar :config="{ token: '<YOUR_API_TOKEN>' }" />
</template>Continue with the Vue installation guide.
Headless
npm install @zaptime/core@zaptime/core contains the whole booking logic (availability, selection, booking form schema, API calls) as Vue composables and no UI. Read the headless getting started guide.
AI-assisted integration
If you use Claude Code, Cursor, Codex, or another coding agent, install the Zaptime skills so the agent knows the packages:
npx skills add ZapTime/zaptime-monorepoSee AI agent skills. To let an AI assistant manage your Zaptime account (event types, availability, reservations), connect the Zaptime MCP server.